
 |
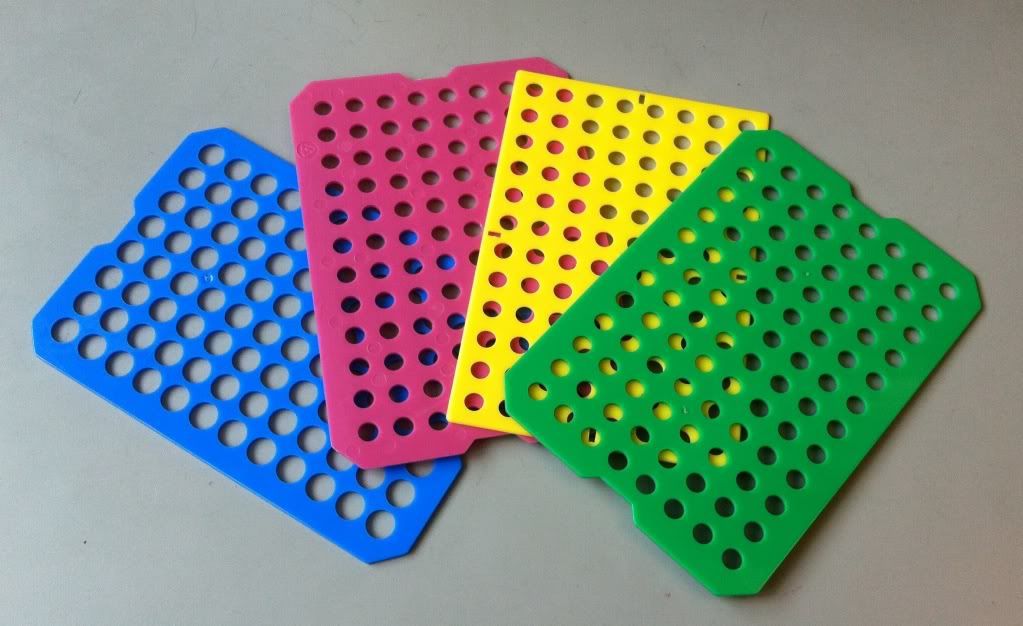
| Plastic tip loader sheets, henceforth called plastic sheets. They need a better name. |

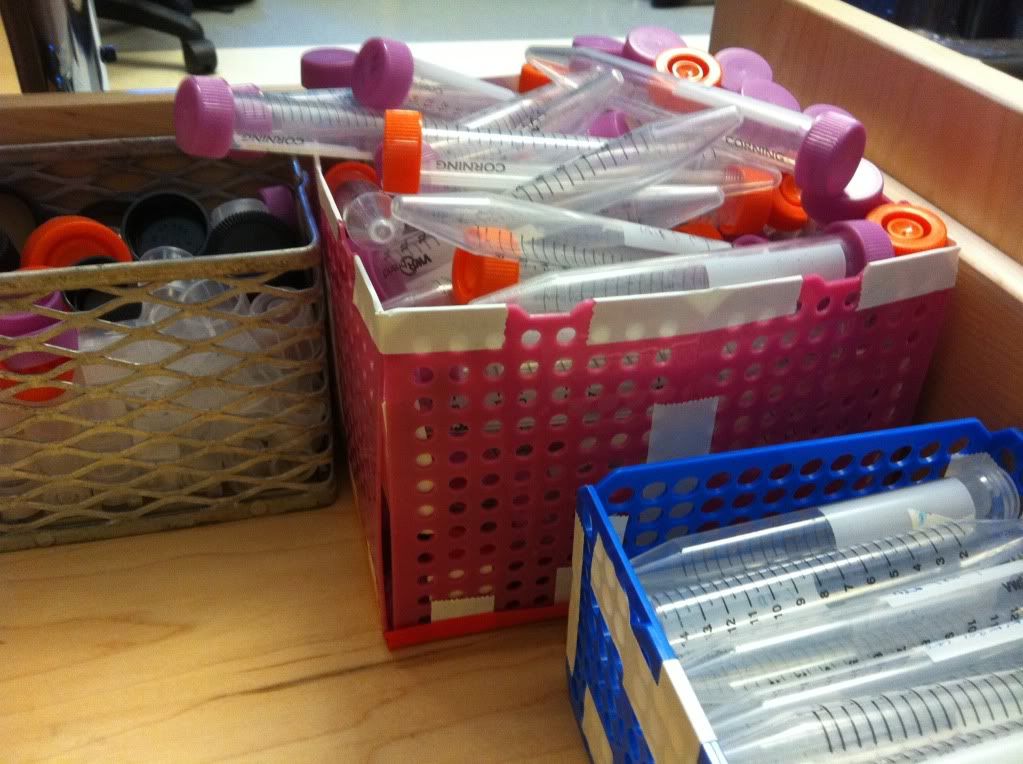
At first, I made dividers--a square of sheets taped together--that allowed the separation of caps from tubes in our messy lab tube drawer. While this made the messy lab tube drawer a little tidier, I found that making the dividers into baskets (by giving them a bottom) greatly increased their efficiency because I could pick up and shuffle the order of the tubes and caps within the drawer.

While you could probably figure it out yourself now that I've given you this awesome idea, and there are definitely a ton of ways to make these baskets, below is a general step-by-step guide to make these crafty creations.
Supplies needed in order to create these crafty creations:
1.) Six or more plastic pipet tip loader sheets.
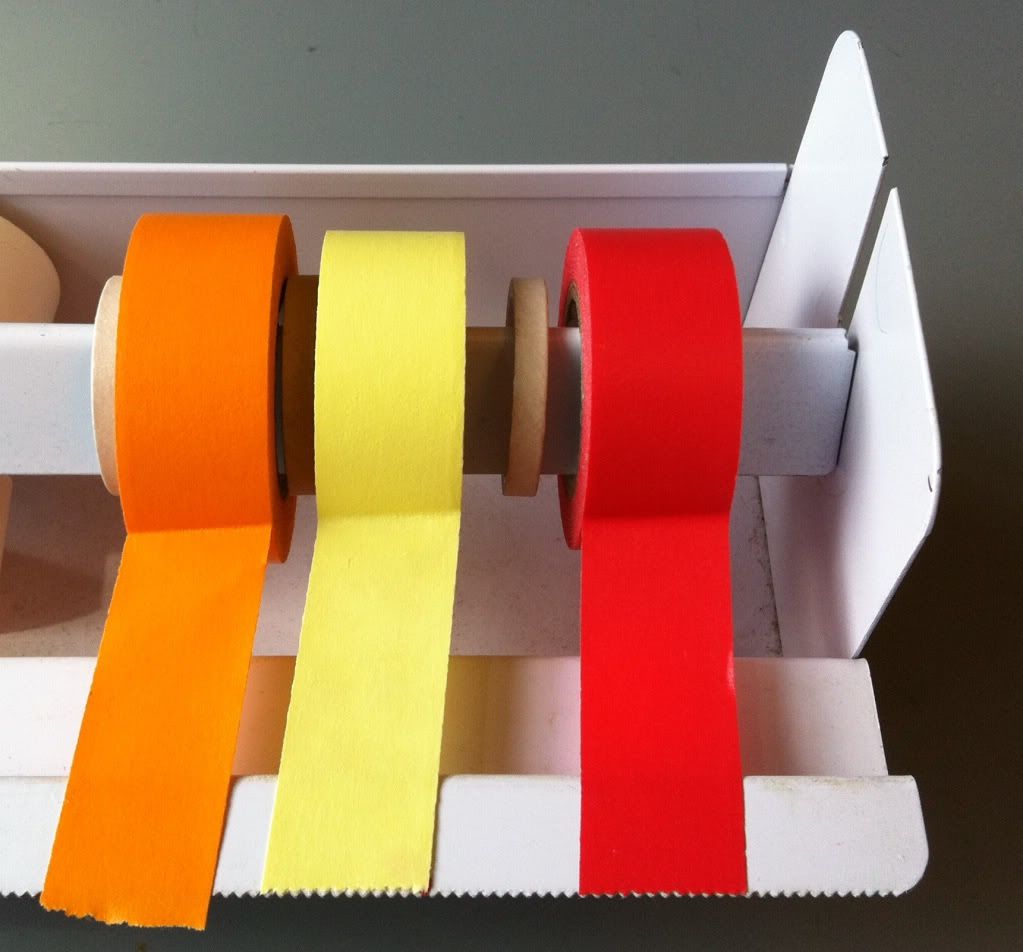
2.) Tape (I used lab tape because it is handy, fairly strong, and comes in a variety of colours).
3.) A cutting device (most people use scissors... which I recommend. Razor blades cut thumbs, but of course I wouldn't know that first hand).
Directions:
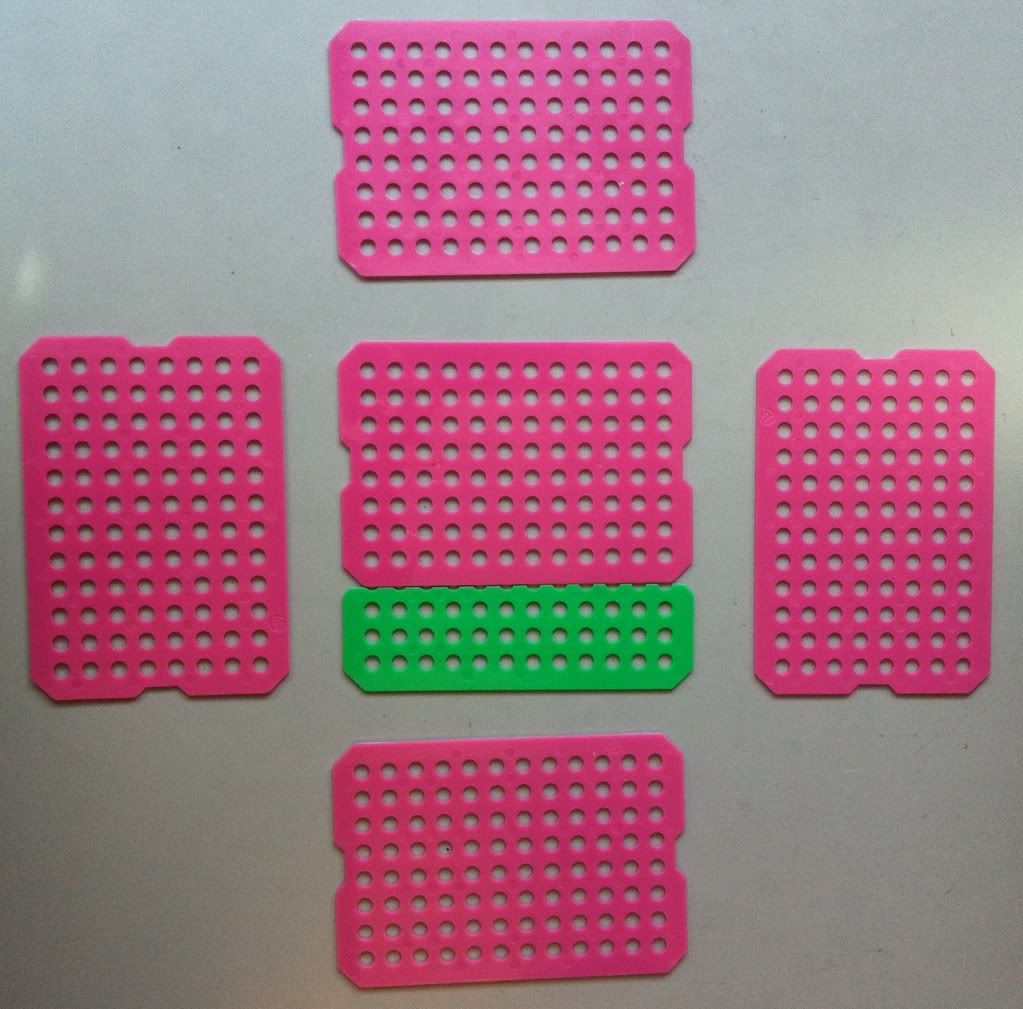
1.) Decide the size of the basket you need. I'm making a basic 1 by 1 sheet basket to hold tube caps.
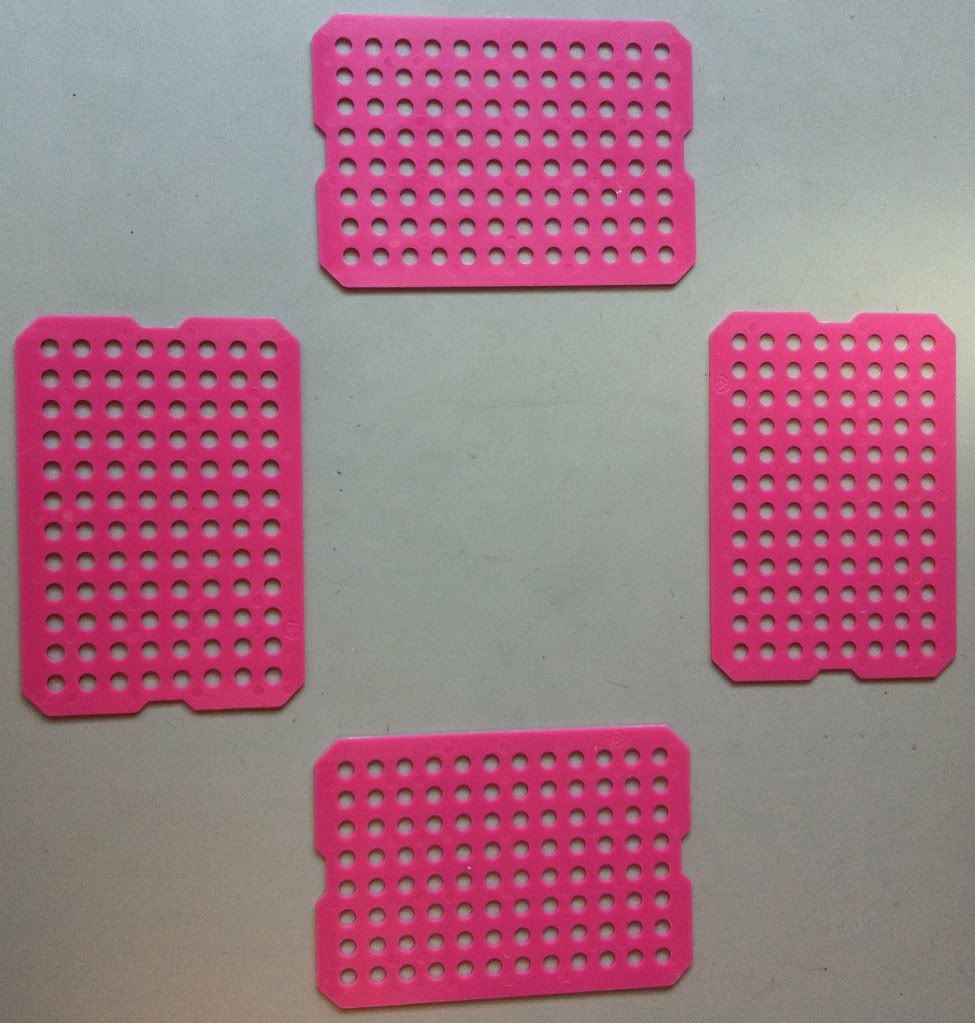 |
| One sheet by one sheet (these will be the side of the basket). |
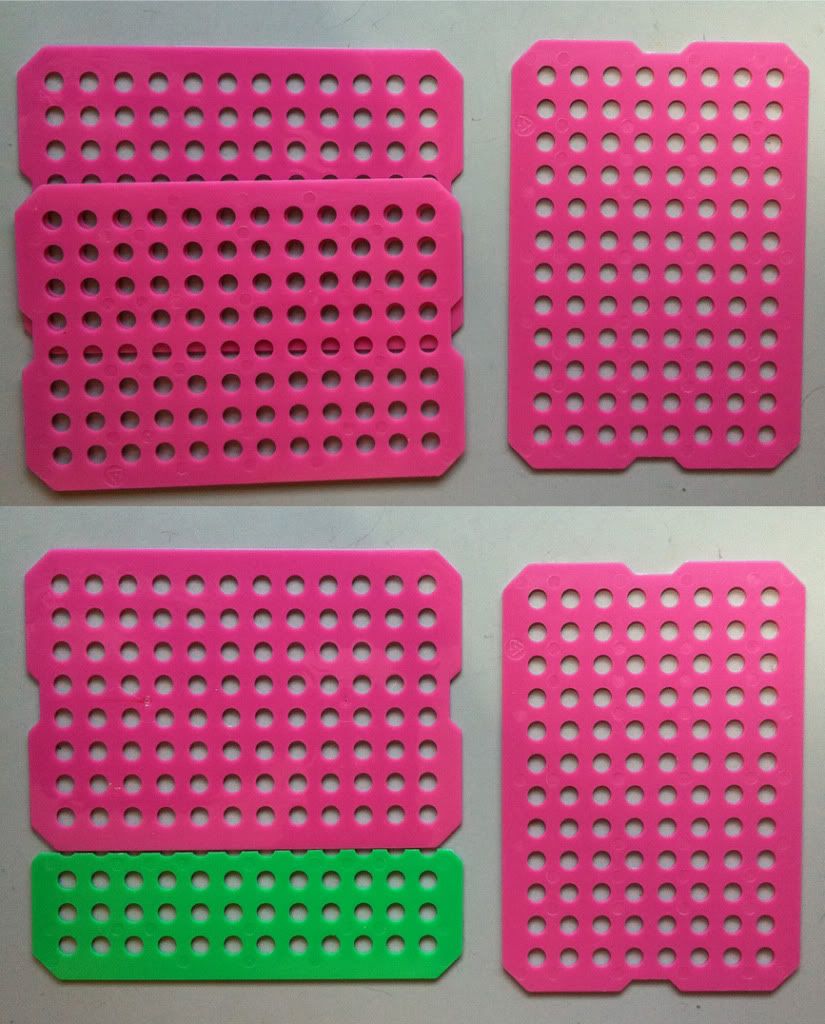
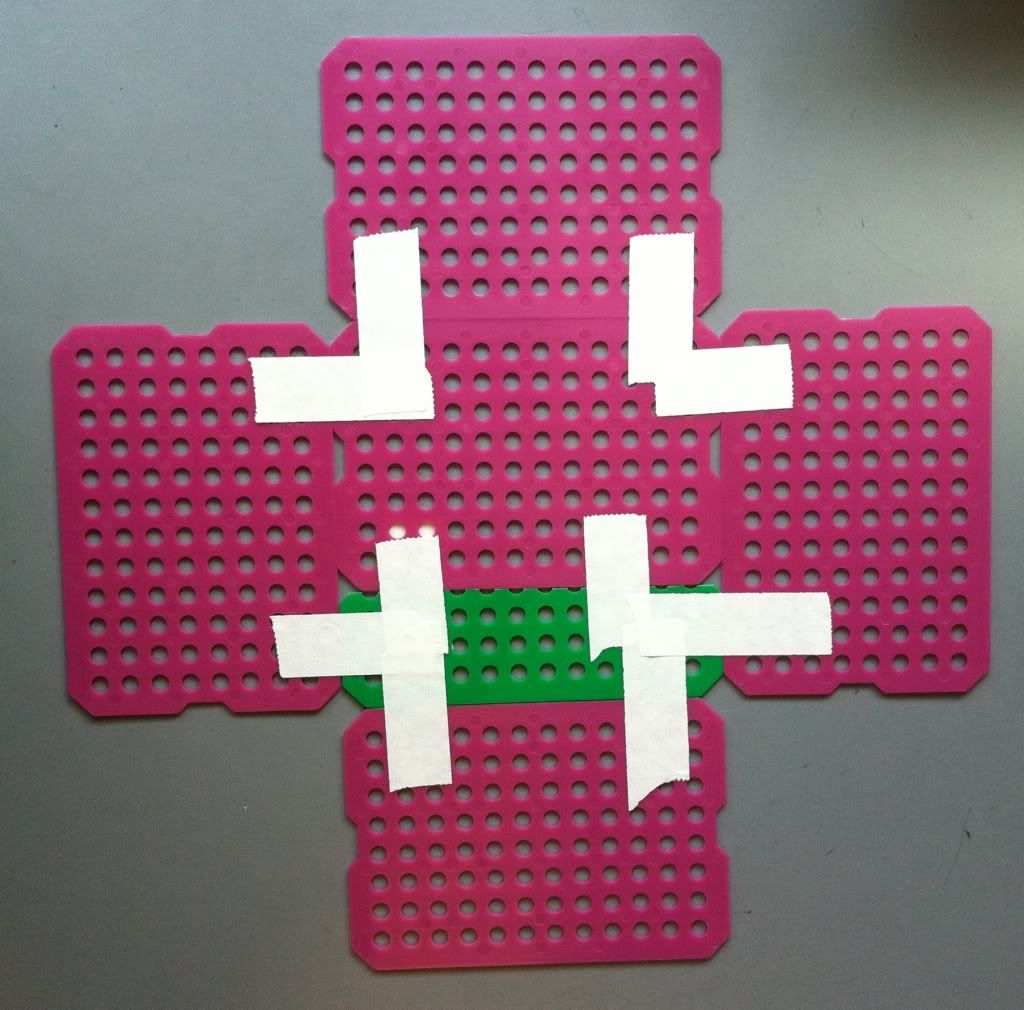
Bottom: you can trim the second sheet to match the length of the basket side, so the bottom of the basket will lay flush instead of having a slight bump.
I'm going to go the second route and use the spare green piece of plastic sheet to make my bottom. The top option (overlapping sheets) is stronger, but won't sit evenly on a flat surface.
 |
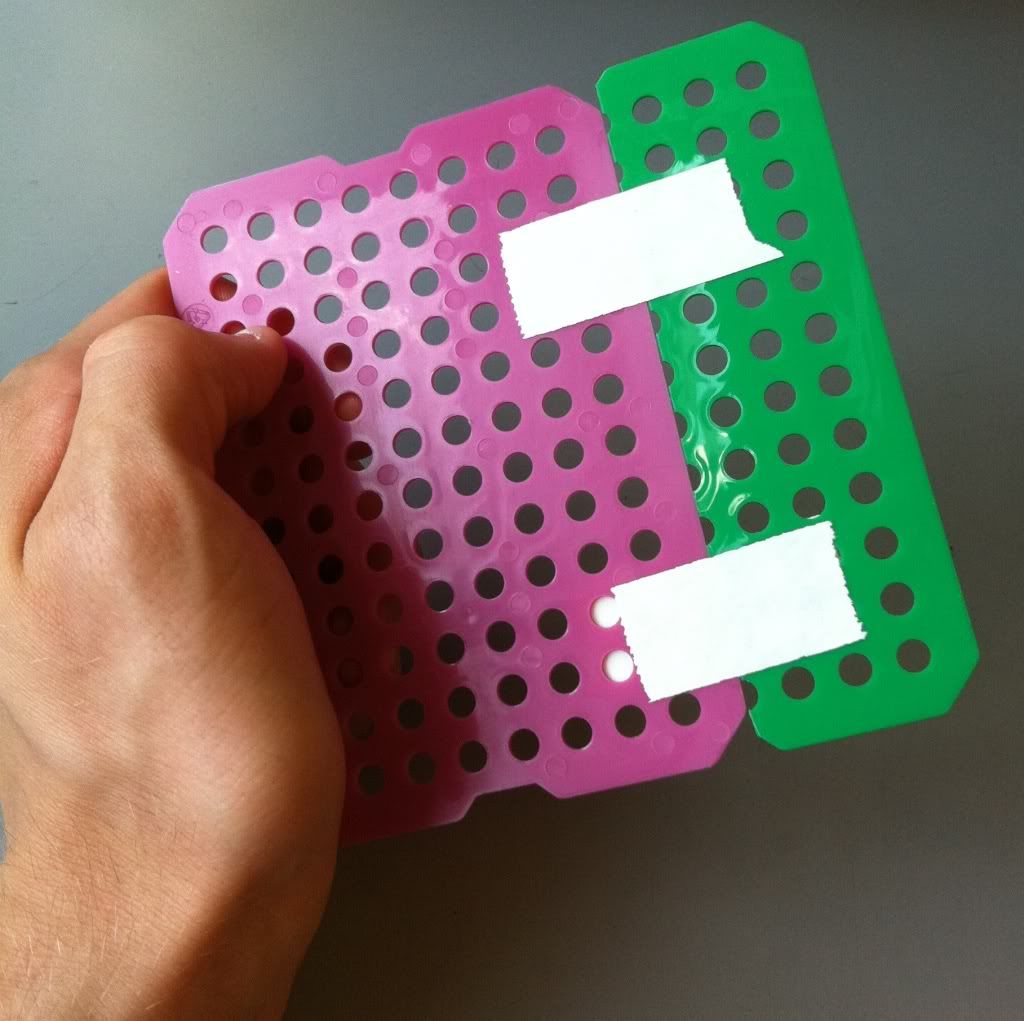
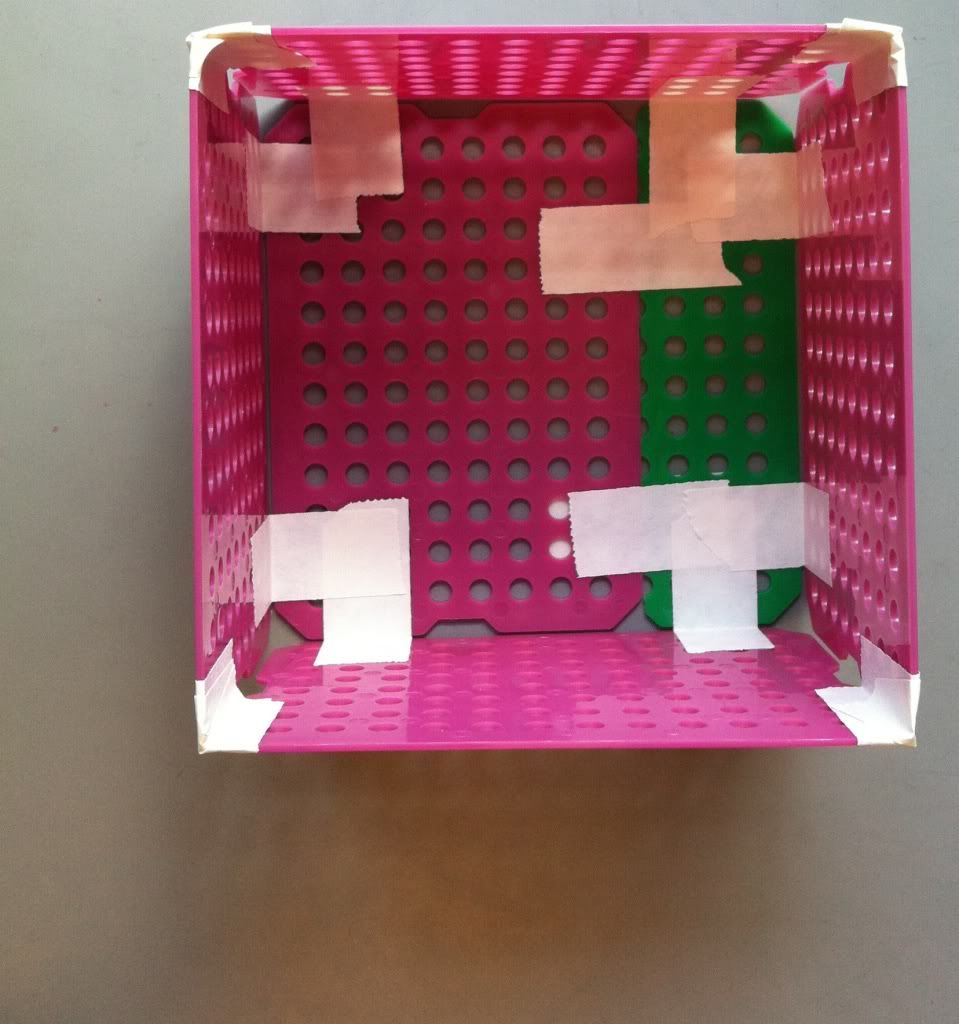
| With the bottom of the basket sized up, it's time to start taping this bad boy together. Professor! Where do we keep our tape? |
3.) Tape the basket bottom together. Be sure to put tape on either side of the sheets.
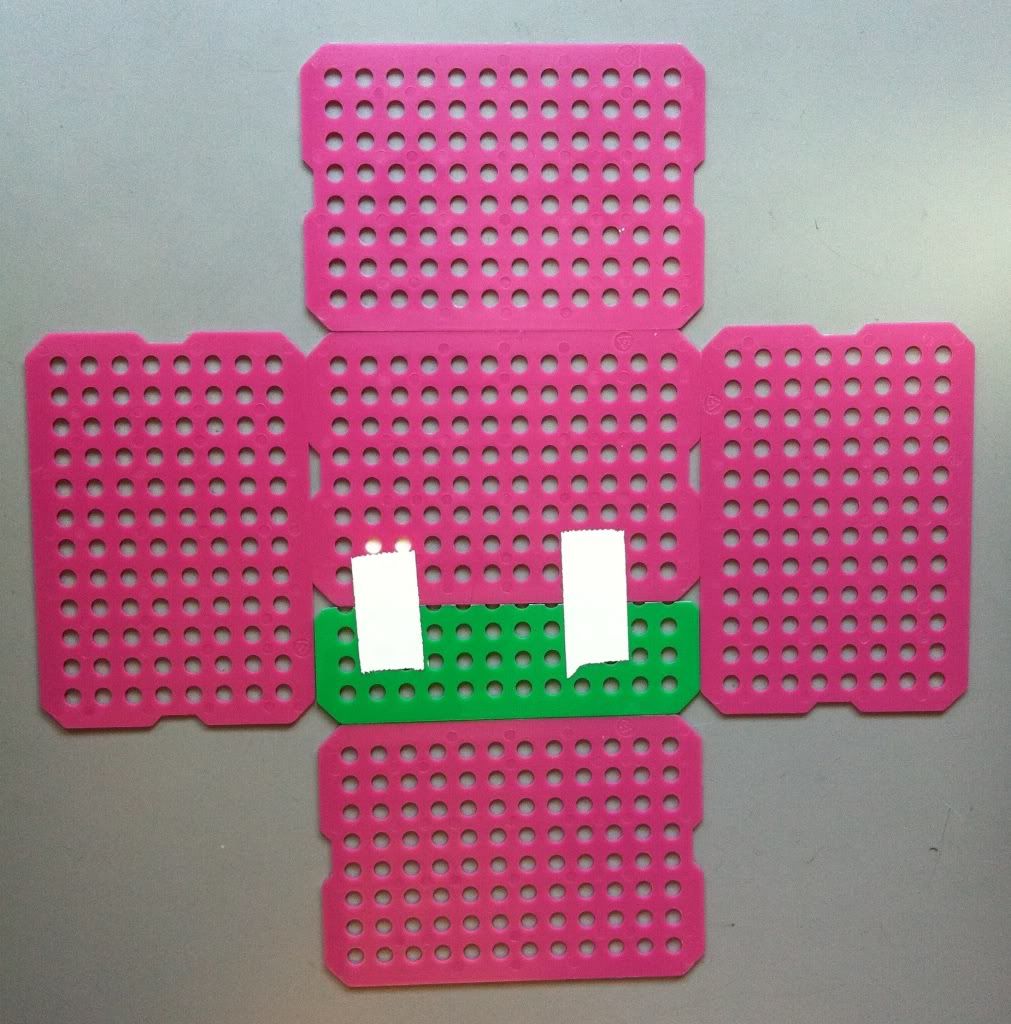
4.) Tape the four sides of the basket onto the bottom. I do NOT tape the outside of the bottom to each side just yet, because the tape usually rips. I tape the bottom to the sides once the basket is erected.
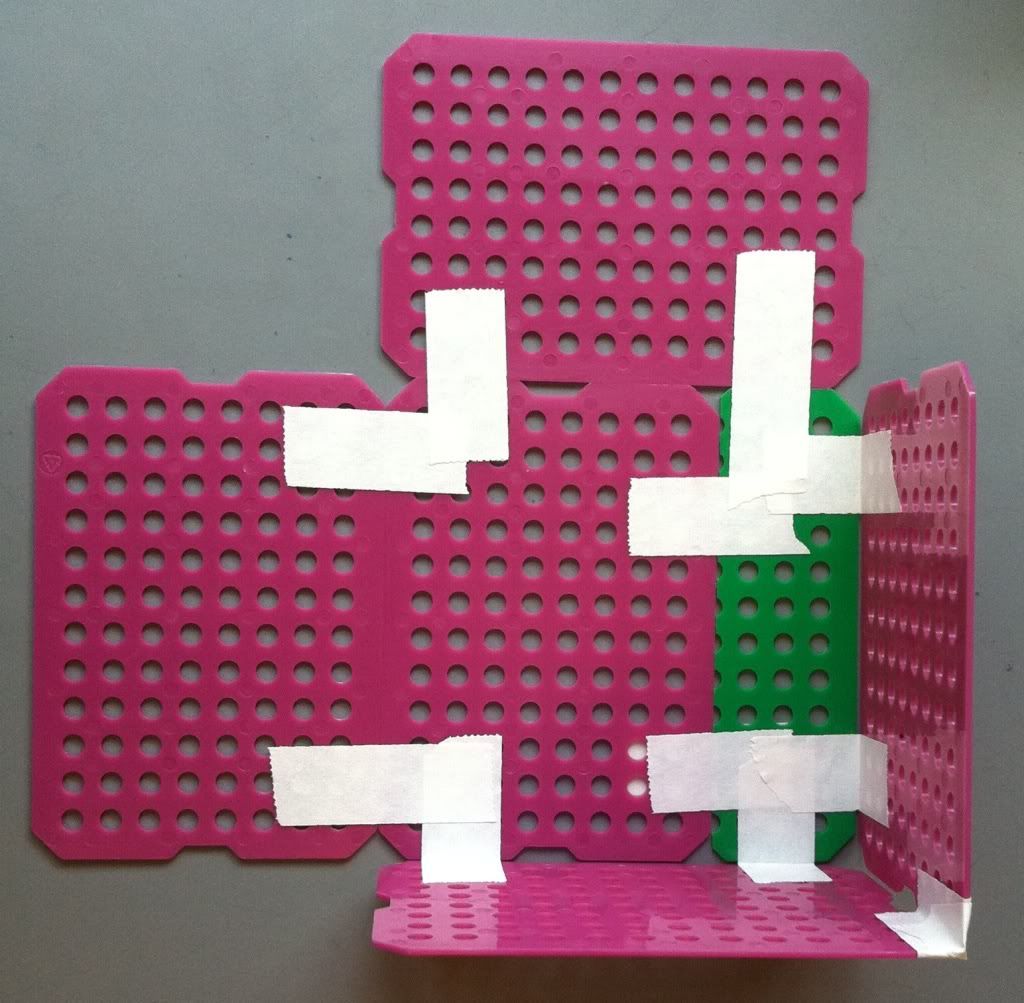
 5.) Tape the sides together. First, pull the sides up, perpendicular to the bottom.
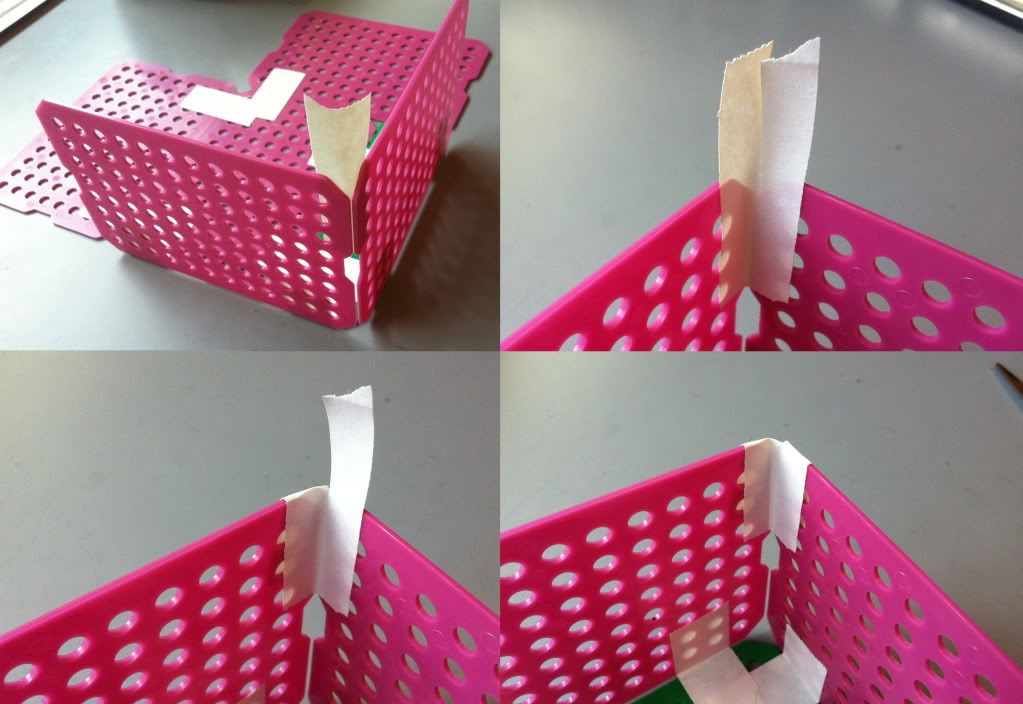 |
| Go top left to top right, to bottom left to bottom right. |
 |
| Two sides taped to one another. |
6.) Tape all four of the sides together. Now your basket is (essentially) completed.
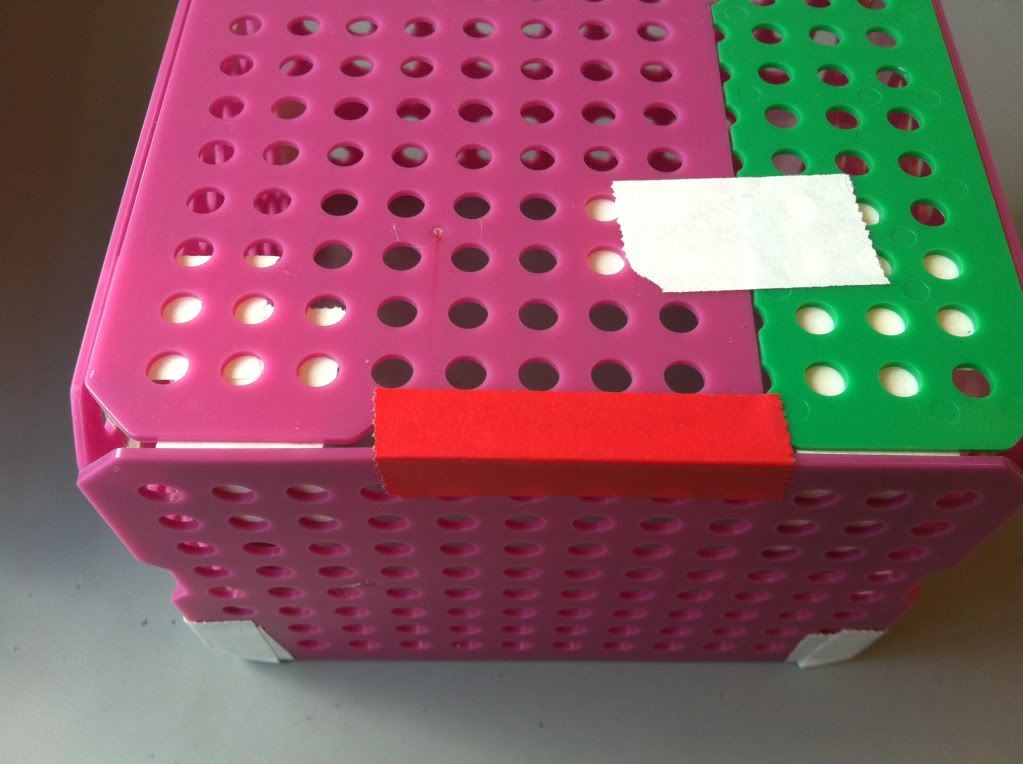
7.) To increase the integrity of the bottom of the basket, a piece of tape along each edge of the bottom taping the bottom to the side of the basket is a good idea. The easiest place to tape is on the outside; if you really want the bottom of the basket to stay attached the sides you can try taping the inside of the bottom to the sides as well. You can also put more take along the corners where the sides of the basket meet each other.
 |
| Looking pretty spiffy! |
7.) To increase the integrity of the bottom of the basket, a piece of tape along each edge of the bottom taping the bottom to the side of the basket is a good idea. The easiest place to tape is on the outside; if you really want the bottom of the basket to stay attached the sides you can try taping the inside of the bottom to the sides as well. You can also put more take along the corners where the sides of the basket meet each other.
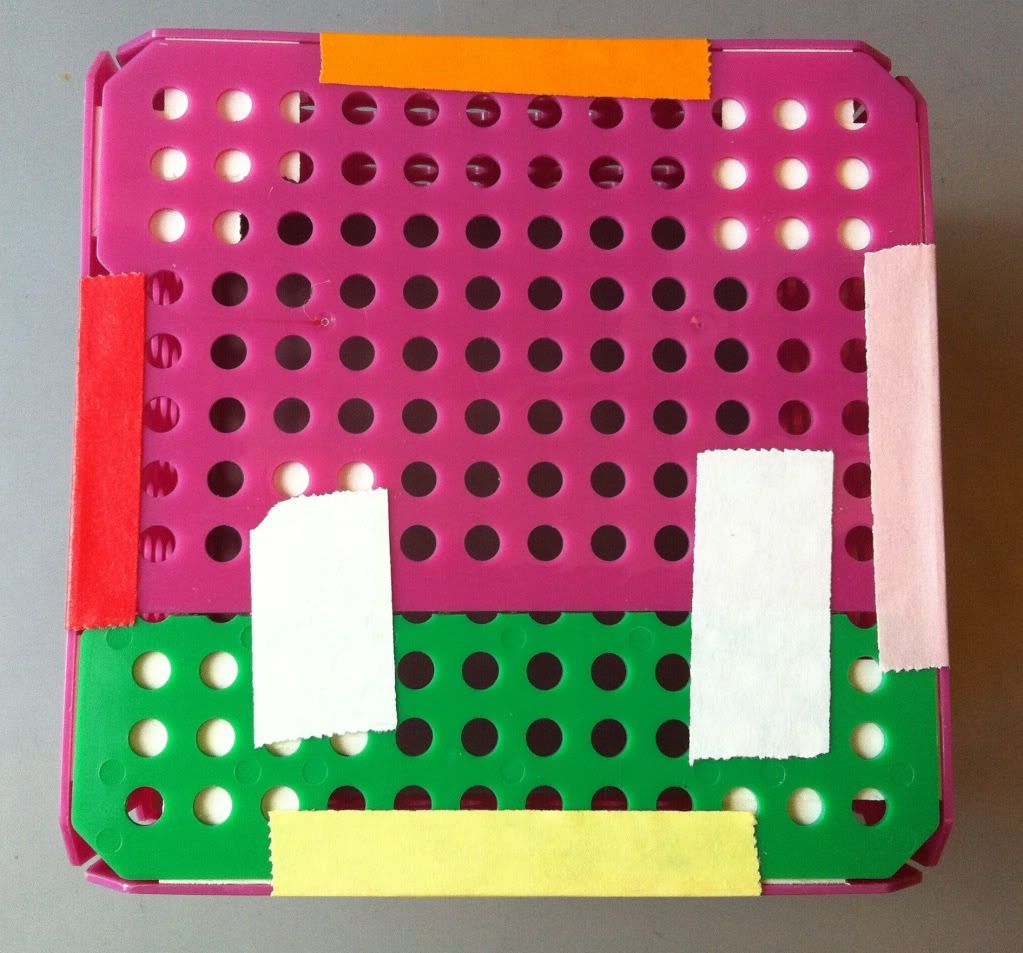 |
| The yellow, red, pink (which isn't very pink), and orange pieces of tape keep the bottom of the basket attached to each side of the basket. |
For a more professional look:
- Try overlapping the plastic sheets to make a customized fit rather than cutting sheets and taping them together. Less tape may look better.
- Cut the edge of your pieces of tape for a flat edge instead of the standard wavy edge you get from the tape dispenser.
- Use only one color of plastic sheet and stick to only one color of tape (I hope you already thought of this.)
> > Feel free to e-mail me with questions and comments.
No comments:
Post a Comment